Before you install the scanner, you need to create a scanner cluster configuration object in the Microsoft Purview compliance portal. This cluster configuration will be used to identify scanner clusters in your organization; for example, an organization with multiple geographic locations may opt to deploy scanner clusters at each site.
To create a scanner cluster, follow these steps:
- Navigate to the Microsoft Purview compliance portal (https://compliance.microsoft. com) and sign in with an identity that is a member of the Compliance Administrator, Compliance Data Administrator, or Organization Management role.
Exam Tip
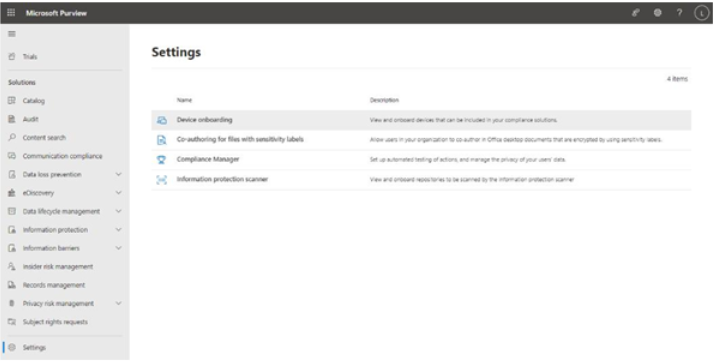
The product documentation directs you to the Microsoft Purview compliance portal to set up a scanner cluster, though it doesn’t actually specify where. The option to configure is only visible after assigning the Compliance Administrator, Compliance Data administrator, or Organization Management role and can take up to two hours to display in the portal console after enablement. The compliance portal settings are located at Settings | Information protection scanner. There is also a link at More resources | Azure Information Protection, which redirects you to the AIP blade of the Azure portal (https://portal.azure. com/#blade/Microsoft_Azure_InformationProtection). The steps are nearly identical in either case.
- Select Settings and then choose Information protection scanner.
- Select the Clusters tab. See Figure 11.11:

Figure 11.11 – AIP clusters page
- Click Add.
- On the New cluster flyout, enter a name and description. Click Save.
Next, you’ll create a scan job that will be used to discover content located in your on-premises locations.
Configuring Content Scan Jobs
For this task, you’ll need on-premises Universal Naming Convention (UNC) paths or SharePoint site URLs where the content to protect is stored. Once you have collected file paths, you can follow these steps to configure a content scan job:
- From the Microsoft Purview compliance portal, selectSettings | Information protection scanner.
- Select the Content scan jobs tab.
- Select Add to create a new scan job.
- Enter a content scan job name.
- From the Cluster dropdown, select a configured cluster.
- Configure a Schedule (either Manual or Always). Manual scans will need to be initiated via the Start-AIPScan cmdlet on the server or through the portal, while scans set to Always will run as background tasks on the assigned cluster.
- Update the Info types to be discovered dropdown to Policy only to detect content based on your already-configured DLP policy settings or All to detect all sensitive information types available in the tenant (including both default and custom sensitive information types).
- Scroll the flyout down. Under DLP policy, set the Enable DLP policy rules slider to On.
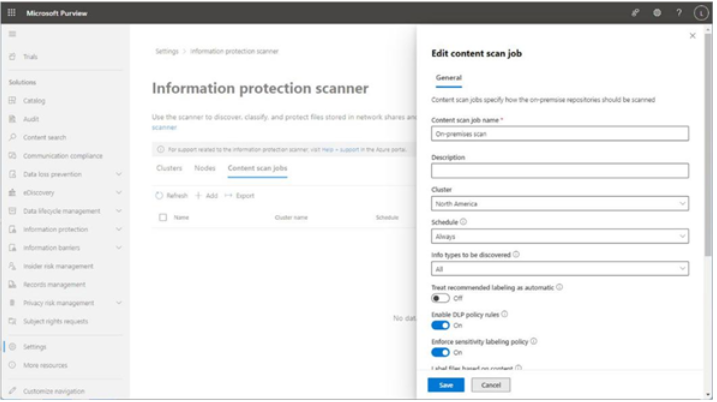
Figure 11.12 – Configuring content scan job settings
- Click Save.
- Close the content scan job configuration and then re-open it.
- Select the Repositories tab. See Figure 11.13:

Figure 11.13 – Configuring repositories for the scan
- Click Add.
- On the Repository flyout, add the path and then click Save. See Figure 11.14:

Figure 11.14 – Configuring repository settings
- Repeat the process for each repository (file share or SharePoint site) that this scanner cluster will be responsible for checking.
After you have finished configuring all of the repositories for this content scan job, it’s time to start configuring the necessary app registration.

